A mapping is the 2D representation of one side of an aisle in the warehouse.
To access this menu, go to Warehouses and click on the desired warehouse to enter its space.
-
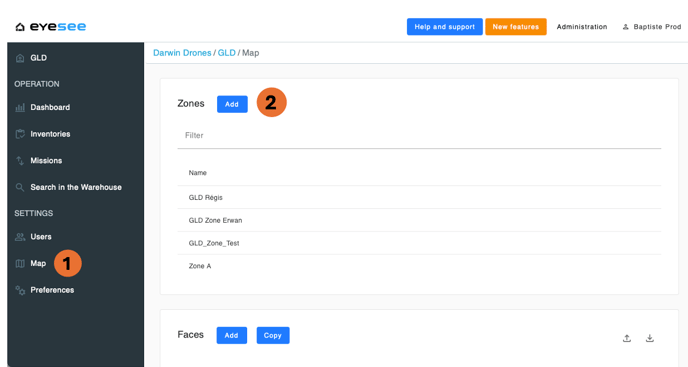
In the left-hand menu, click on Map.
-
Add a zone.
The mapping is divided into two parts: zones and faces.
To manage mappings by area, you can define zones, part of the warehouse.
Each zone contains one or more faces, accessible from this page or by selecting a specific zone.
Therefore, it is essential that the location codes of the faces within a zone follow the same naming convention.

-
Enter the name.
-
Define a naming rule for locations that must exactly match the location names used in the warehouse.
Note: This rule applies to the entire zone.
If some locations use a different naming convention, you will need to create a new zone with a corresponding rule.
This rule is optional — the field can be left blank.
To define this rule :
| Character | Meaning |
| § | Alphabetic character |
| # | Numbers |
| * | Any characters |
The separators remain identical.
For a better understanding, here are a few naming rules examples:
- For a location name C6A P001 10A, the naming rule will be §#§ §### ##§ with spaces.
- For a location name P5-001-01B: §#-###-##§ with the hyphens.
- For a location name L2-01-06-20: §#-##-##-## with the hyphens.
3. Save.
For more details:

1. To modify a zone: click on the modification and save./ To delete a zone: click on the delete icon.
Note : A zone can be deleted if no missions are attached to a face. Otherwise, the mission needs to be deleted first, then the face, and finally the zone.