An acquisitions group contains one or more acquisitions. They are common to every warehouse.

1. In the left-hand menu, click on Acquisition Groups.
2. Click on the add icon.

3. Fill in acquisition group name.
4. Save.
By creating a new acquisitions group and to make this part easier and quicker, an acquisition of each type is automatically created by default.
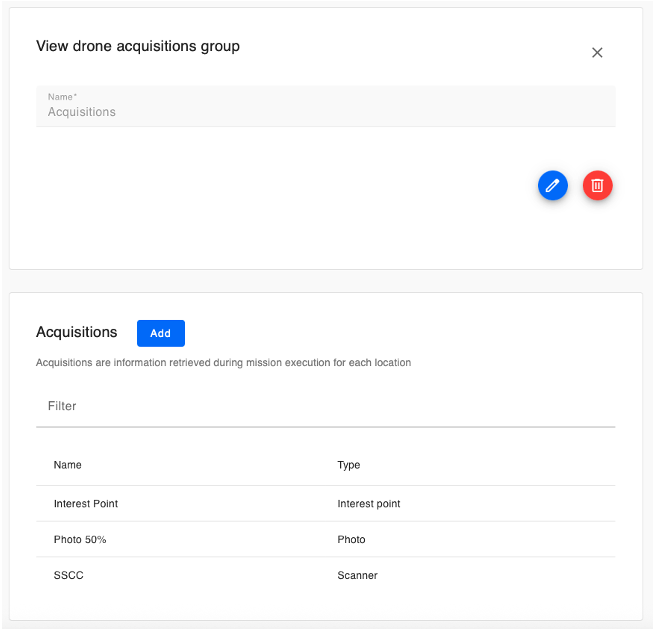
More details:
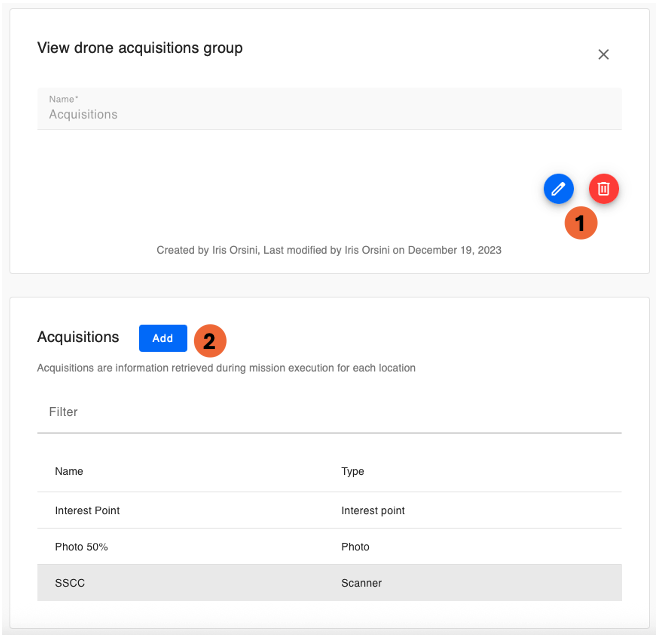
1. Edit or delete an acquisition group: click on the corresponding icon and confirm.
2. Create an acquisition (the detailed steps for this operation are described below)
By default :
In the Preferences menu, a default acquisition group can be defined.
In this case, this group will be automatically associated with the default face creation and it can be manually modified after.
Add additional data from the WMS:
This is supplementary data that will be imported when the expected file is uploaded. This data is then displayed when opening the locations of completed missions in order to help with error analysis.

Here is an example of a CSV file that can be implemented when creating your mission, containing additional data in location C1—here, the batch number called "Lot".

To create this additional data from the WMS, click 'Add'; you will be directed to this page :

On this page, following our example, enter the exact name of your data—in this case, 'Lot'—into the 'Name' field. Then, save.
Warning: As with acquisitions, the name must exactly match the one in the expected file (case-sensitive, accents, spaces, etc.).