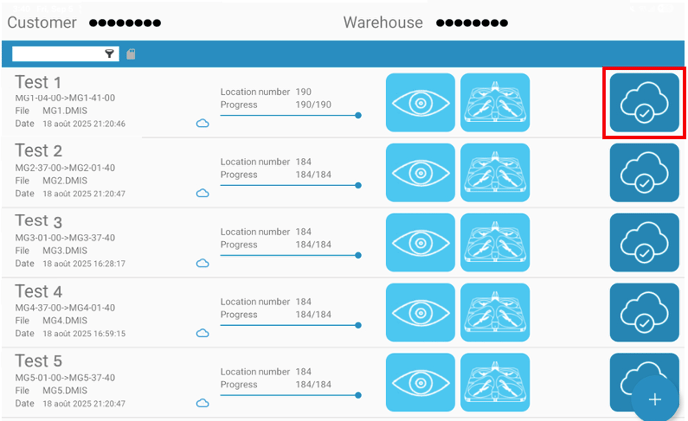
Once the mission has been completed, click this button to upload the mission to EYESEE Cloud, either if the mission was executed in full or if the Export Button Visibility option was enabled in the menu Settings > Mission Display Settings
If you are not connected to a Wi-Fi network with internet access, a pop-up window will prompt you to switch networks.
Once connected, a new screen is displayed, showing the details of the mission and its acquisitions.

By clicking on the Mission Executions dropdown menu, you can select which execution will be uploaded to EYESEE Cloud:

A new execution is created after the first take-off, each time you click the button to start the mission.
By clicking the icon at the top right of the screen, you can filter the photos that will be uploaded with the mission. This screen is displayed, allowing you to select which photos you want to upload to EYESEE Cloud.
By default, all photos will be uploaded.

To upload the mission to EYESEE Cloud, click on the blue arrow icon located to the right of the Executions dropdown menu.
Please note: as each mission can be carried out several times, there may be several acquisitions for each mission. So when you want to upload the results of a mission to EYESEE Cloud, make sure you select the acquisition you want in the ‘Executions’ drop-down menu.


Depending on the size of the mission and the acquisitions scanned, loading may take some time.